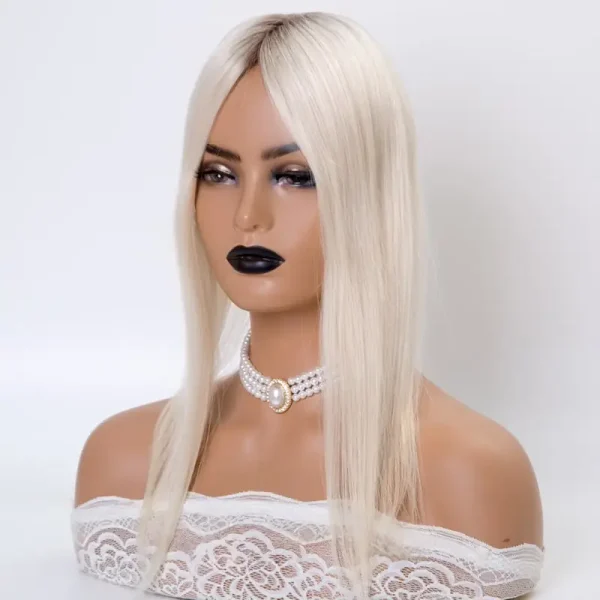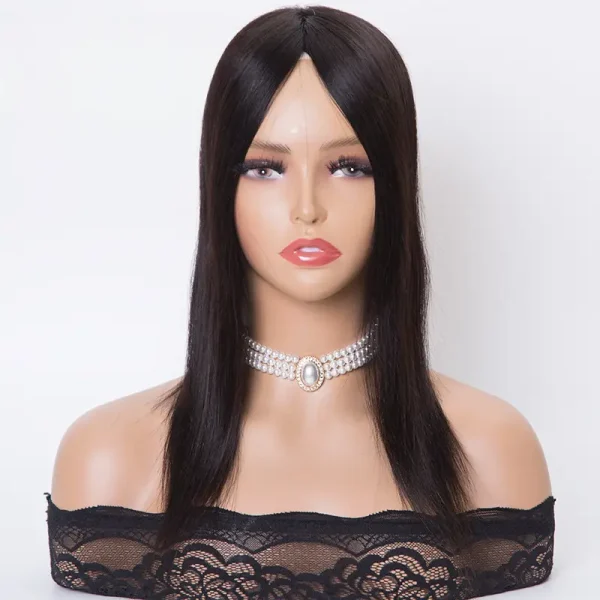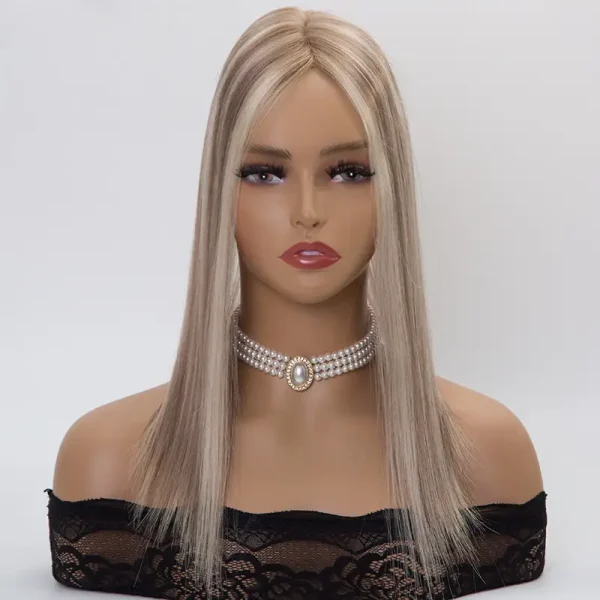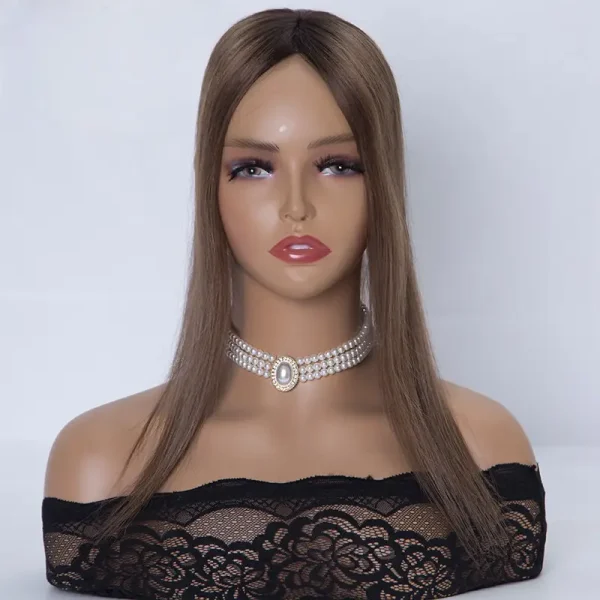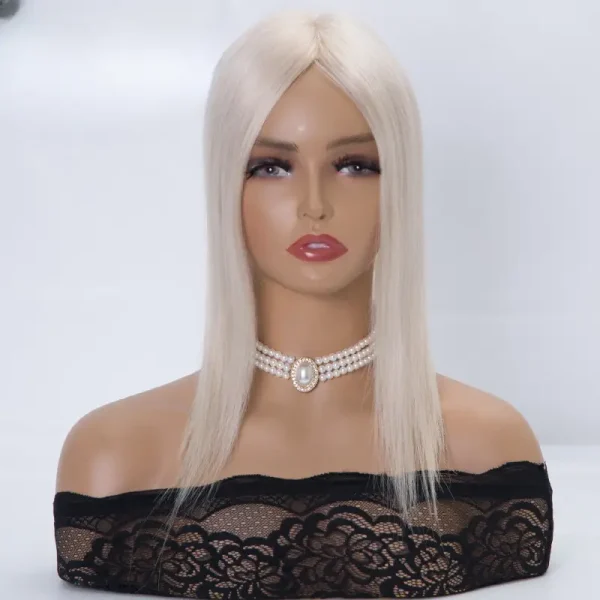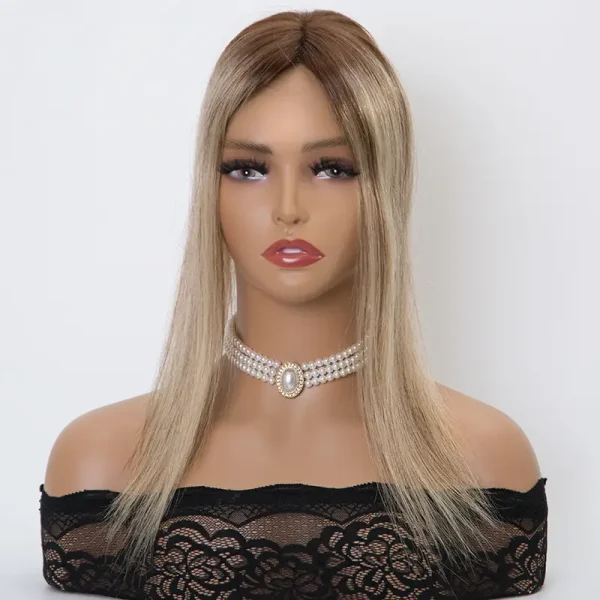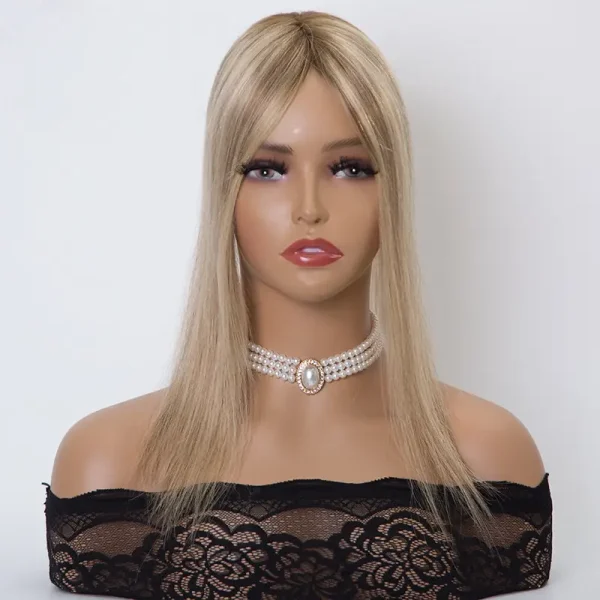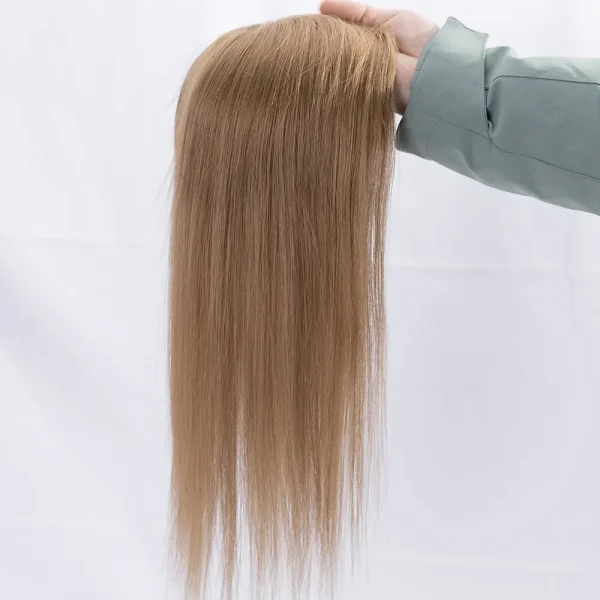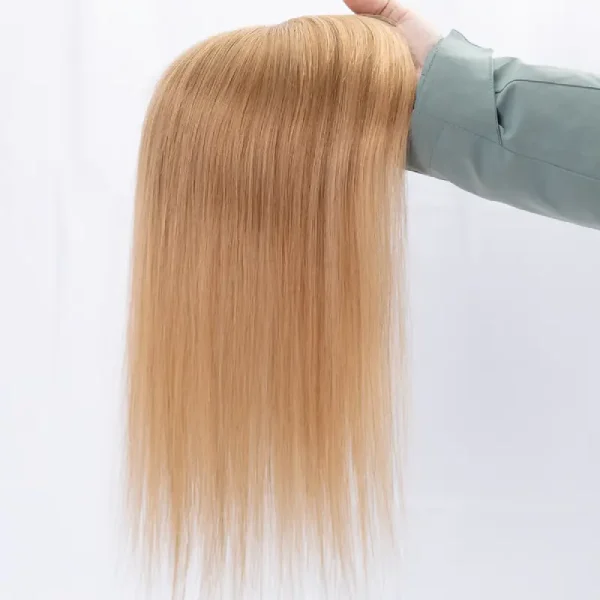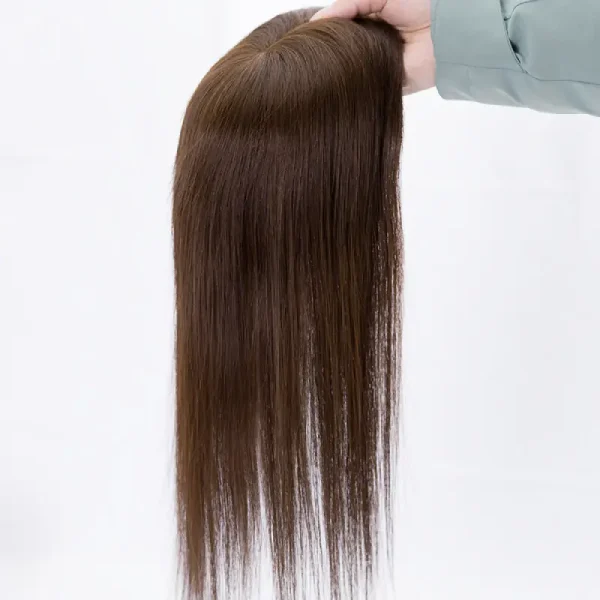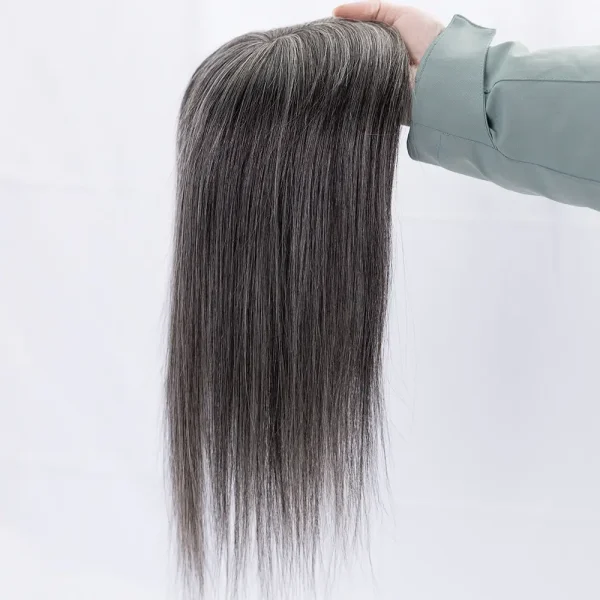
Toppers for Women
buy one get 5 pairs of false eyelashes free
-
Abigail | 3″×5″ or 5.5″×6″ Mono Mesh Base Toppers fo Women
Price range: $279 through $599 -
Amelia | 3″×5″ or 5.5″×6″ Mono Mesh Base Toppers fo Women
Price range: $209 through $419 -
Charlotte | 3″×5″ or 5.5″×6″ Mono Mesh Base Toppers fo Women
Price range: $189 through $349 -
Chloe | 3″×5″ or 5.5″×6″ Mono Mesh Base Toppers fo Women
Price range: $369 through $1,059 -
Emily | 3″×5″ or 5.5″×6″ Mono Mesh Base Toppers fo Women
Price range: $259 through $469 -
Evelyn | 3″×5″ or 5.5″×6″ Mono Mesh Base Toppers fo Women
Price range: $239 through $559 -
Maya | 3″×5″ Mono Mesh Base Toppers fo Women
Price range: $259 through $339 -
Sophia | 3″×5″ or 5.5″×6″ Mono Mesh Base Toppers fo Women
Price range: $259 through $469 -
Avery | 3″×5″ or 5.5″×6″ Mono Mesh Base Toppers fo Women
Price range: $259 through $469 -
Leah | 5.5″×6″ Mono Mesh Base Toppers fo Women
Price range: $339 through $469 -
Elizabeth | 3″×5″ or 5.5″×6″ Mono Mesh Base Toppers fo Women
Price range: $189 through $359 -
Ella | 3″×5″ or 5.5″×6″ Mono Mesh Base Toppers fo Women
Price range: $189 through $349
FAQ
How to Put on a Hair Topper
Step 1: Prepare the Topper and Your Hair
Before putting it on, give the human hair topper a little shake or finger comb it to fluff it up. This will help release any kinks or flat spots caused by shipping.
Step 2: Get Comfortable With the Clips
Your topper’s pressure-sensitive clips are the MVPs here. Make sure all the clips are open before you start. Practice opening and closing them a few times—trust me, it’s easier to master this now than when it’s sitting on your head.
Step 3: Positioning the Hair Topper
Now comes the fun part—putting the topper on!
Hold It Right: Grab the topper by the clips, holding it upside down, with the front hairline facing you.
Placement Is Everything: Place the topper on your head in the area you want to cover. You can position it right at your hairline for full coverage or up to 2 inches behind your natural hairline for a blended look. Adjust the parting as necessary to align with your own.
Step 4: Secure Those Clips Like a Pro
Now we are ready to clip the hair topper on. However, there is a frequently asked question: How does a hair topper stay on? The key is to make sure it is absolutely secured to your natural hair without movement.
Start with the Front Clip: Scoop a small section of your natural hair into the front clip and snap it closed. This anchors the topper in place.
Work Your Way Back: Secure the side clips next, followed by the back. Gently press down on the topper before snapping each clip to ensure it sits flat and secure.
Don’t Pull—Be Gentle: Avoid pulling or stretching the topper during application. If the clips feel too tight or are pulling your hair, reposition them to avoid scalp tension, which can accelerate hair thinning over time.
The whole idea is to ensure the clips sit flat against your scalp for maximum comfort and a seamless, natural-looking front hairline. If you’re looking for extra security—especially on active days or in windy weather—consider adding wig tape or adhesive. These handy tools provide additional hold, keeping your hair topper securely in place all day long.
Step 5: Blend Like a Boss
Now that the topper is secured, it’s time to make it look like your own hair:
Blend Your Hair
Use your fingers or a comb to tease and blend your natural hair with the topper. Focus on the edges to eliminate any visible transitions.
The Shadow Trick
Use a matte shadow or hair powder that matches the topper’s root shade to blend the parting and hairline seamlessly. This is especially handy if there’s a slight color mismatch between your natural hair and the topper.
Step 6: Styling Your Hair Topper
Now, let’s have a brief revision on how to put on a hair topper efficiently with correct styling procedures.
Smooth Out Tousled Areas: If the topper got a little tousled during application, use a spritz of water or a lightweight leave-in conditioner to tame flyaways.
Heat Styling: If your topper is heat-friendly, remove it and place it on a canvas block head for styling. Curl or straighten the topper to your desired look, then allow it to cool before putting it back on. Styling the topper while wearing it can create tension on the clips, which isn’t great for your hair or the topper.
Step 7: Experiment and Perfect
Play around with the positioning to find what works best for you. Move the topper forward or back to create a seamless blend with your natural hair. If your scalp is sensitive or you’re working with less hair at the front, consider replacing the front clip with adhesive strips or a comb for added comfort.
How Long Do Hair Toppers Last?
Hair toppers are designed to be durable, The longevity of a hair topper is influenced by:
Maintenance: Proper care, including regular cleaning, appropriate storage, and gentle handling, can significantly extend the life of your topper.
Frequency of Use: Regular wear can affect the topper’s lifespan.
With the right care, your hair topper can be a long-lasting solution for addressing hair loss concerns.
How Can I Choosse the Right Color?
Color Matching Tips:
Tip #1:
Carefully review all the photos in different lighting and read the color descriptions. Remember that phone settings can also affect how colors appear. If you're unsure, ask our customer representatives for help with a color match.
Tip #2:
The most important part of choosing your color is to match your roots. You can usually blend an array of dimensional colors as long as your roots match.
Tip #3:
Find a stylist, whether local or someone who accepts mail-in orders, to do a custom color for you. Remember, most toppers can be darkened but cannot be lightened. If doing a custom color, start with a piece that is the lightest color you want in your hair and have the stylist darken around that color.
Can Hair Toppers be Colored?
Yes, you can dye our hair toppers darker, but we do not recommend lightening them. If you have a specific color in mind, we suggest purchasing a dark blonde or similar shade and having your hairdresser darken it to match your natural hair.
We recommend ordering a shade that is similar to your natural hair but slightly lighter. This will help prevent the color from fading too quickly after dyeing.
If you choose to lighten the topper with bleach, please test a small strand in an inconspicuous area first to ensure the desired result.
